
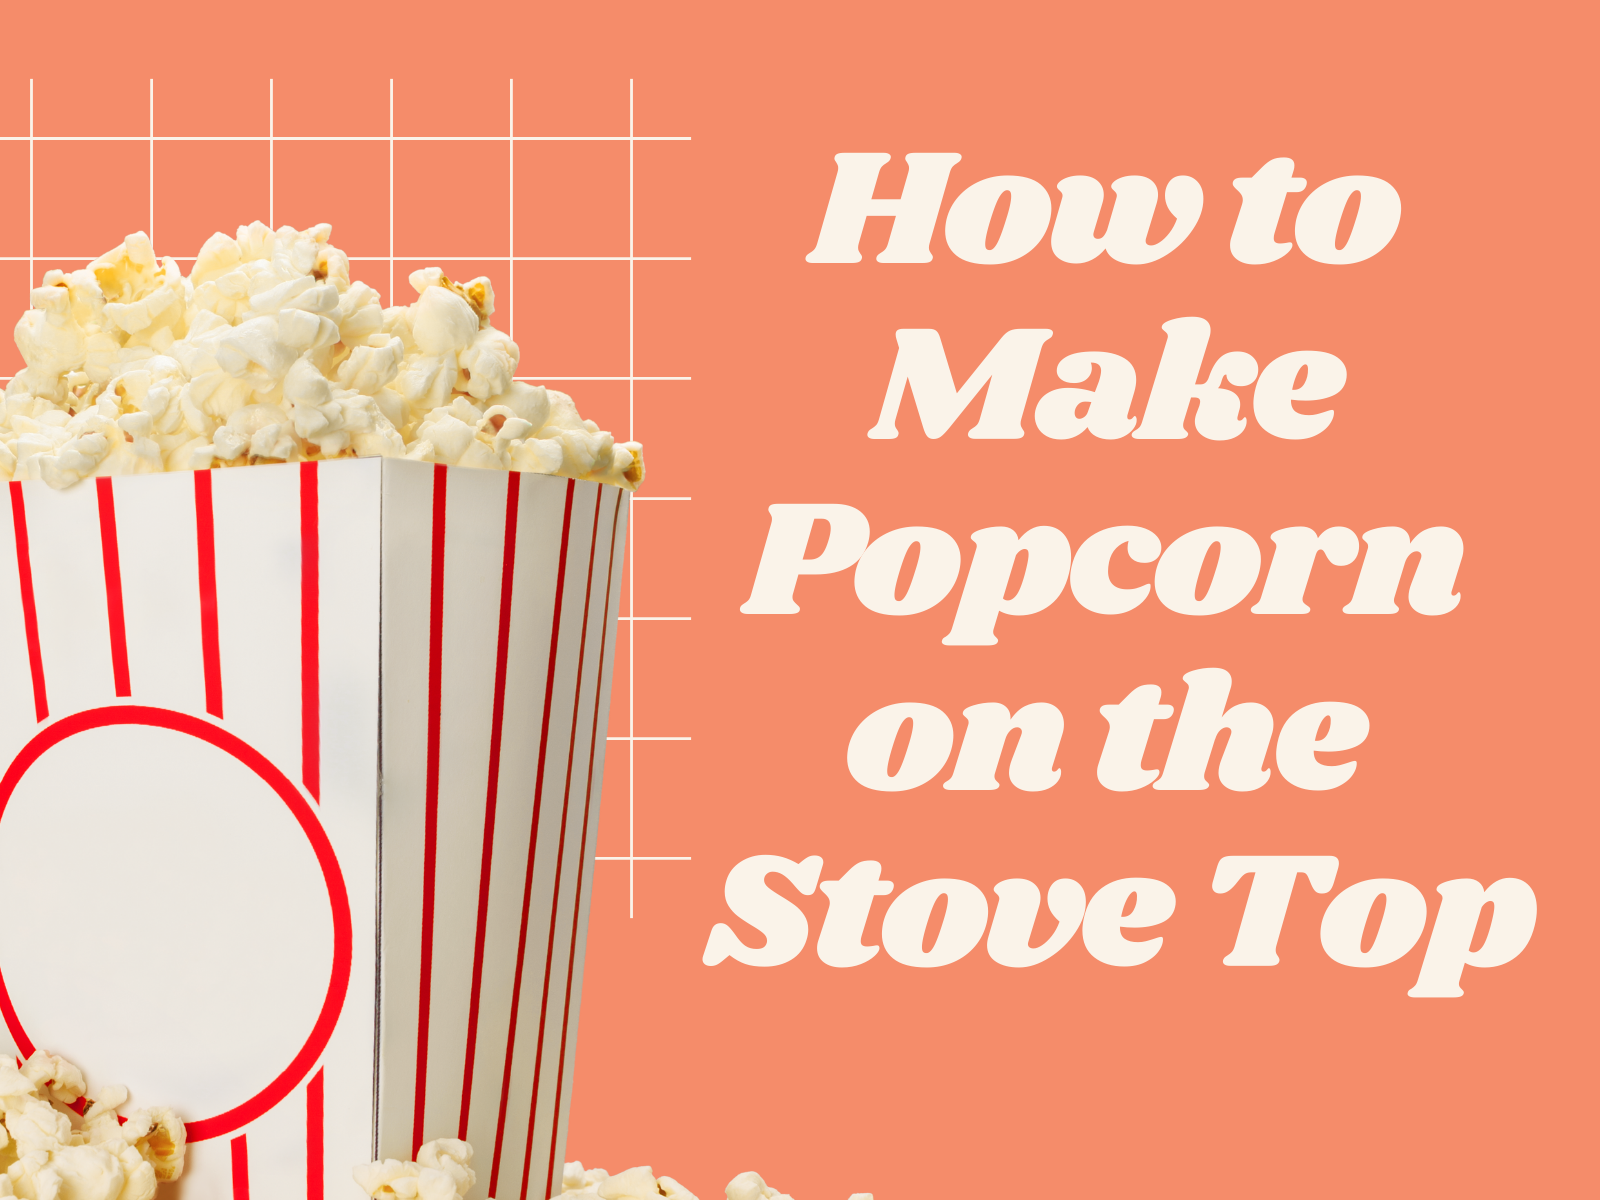
How to Make Popcorn on the Stove Top
How to Make Popcorn on the Stove Top – So there you are, sitting down to watch your favorite movie and realize, Oh no! We’re out of popcorn! You can either make an emergency run to the store or figure out how to make popcorn on the stove top while the movie is already playing in the background. Let’s go with that second option since it’s so easy! Here’s how to make popcorn on the stove top.

Table of Contents
Measure 1/3 cup of kernels
You should know by now that eating microwave popcorn is a bad idea (it’s not all that healthy, and it can leave your home smelling like stale butter). So what’s an enterprising human looking for popcorn? The stove top. But first, you need to buy yourself some good kernels. Your best bet are organic white or yellow kernels. Buy bulk at your local health food store or order online from places like Amazon and Quarry Farm. A 3-pound bag should last you through many, many movie nights in front of Netflix. In total, you’ll need about 1/3 cup of kernels (about 50 pieces) for each batch—you can do multiple batches at once if you want.
Add 3 Tablespoons of vegetable oil
When you’re cooking popcorn over stove top, 3 tablespoons of vegetable oil is a sufficient amount. If you’re watching your calorie intake and avoiding fats, you can use less oil. Three tablespoons of oil will help spread heat quickly and evenly over your popcorn kernels. Do not add more than three tablespoons, because it will make your popcorn soggy or un-poppable. The vegetable oil heats up quickly; once it is smoking hot, it’s time to add your popcorn kernels! Using salt: You can also sprinkle salt on your popcorn while it’s still popping.
Turn heat to medium
The stove should be heated to medium and not too high or low. You can test heat by adding water. If water dances all over, that’s too hot and if it’s slow and lazy, that’s probably not even close to being warm enough. In order for popcorn to pop effectively, it needs a hot surface with an even distribution of heat across it. As long as you turn your burner onto medium, there should be no need for adjusting. There’s no real way around using a stove top for popping corn but using a larger pot is better than using one that is small.
Shake pan often
Oftentimes, people put a pot of oil on a stovetop and leave it alone for a long time. Inevitably, it will burn and stick to the bottom of your pan. The solution is so simple: Shake your pan often! This prevents burning and gives you evenly coated popcorn kernels, which results in fluffy popcorn instead of burnt, soggy corn. This method takes about 5 minutes longer than popping in an air popper or microwave (at least), but produces better-tasting popcorn with less effort.
Once popping slows down, pour into a bowl.
Making popcorn on your stove top is a great way to make it cheaply. The best method for stove-top popcorn requires very little effort and can be done in just a few minutes. To start, you’ll need a large pot, some oil, and some kernels. Heat your oil over medium heat until it is shimmering but not smoking. Add in 3-4 kernels; they should immediately pop once they hit the hot oil. Once these kernels pop, carefully pour in half of your corn kernels; give them a quick stir with a wooden spoon (don’t use metal!). Cover pot with lid and wait for about 2-3 minutes (or until popping slows down). Pour into bowl and enjoy!
Sprinkle with salt.
Salt is a natural flavor enhancer and will make popcorn taste even better. Just sprinkle a small amount of salt over your stove-top popped corn and enjoy! (As a rule of thumb, though, try not to add more than 1⁄4 teaspoon of salt per half cup of popcorn.) Enjoy! (As a rule of thumb, though, try not to add more than 1⁄4 teaspoon of salt per half cup of popcorn.)
Enjoy! Popcorn on the Stove Top
Once you have all your ingredients, making popcorn is a breeze. First, heat your oil in a large pot over medium-high heat. Then add your kernels and cover with a lid. As soon as it starts popping, remove from heat and pour out into an airtight container or serving bowl so that you don’t burn yourself! Enjoy!


n1z9toe0